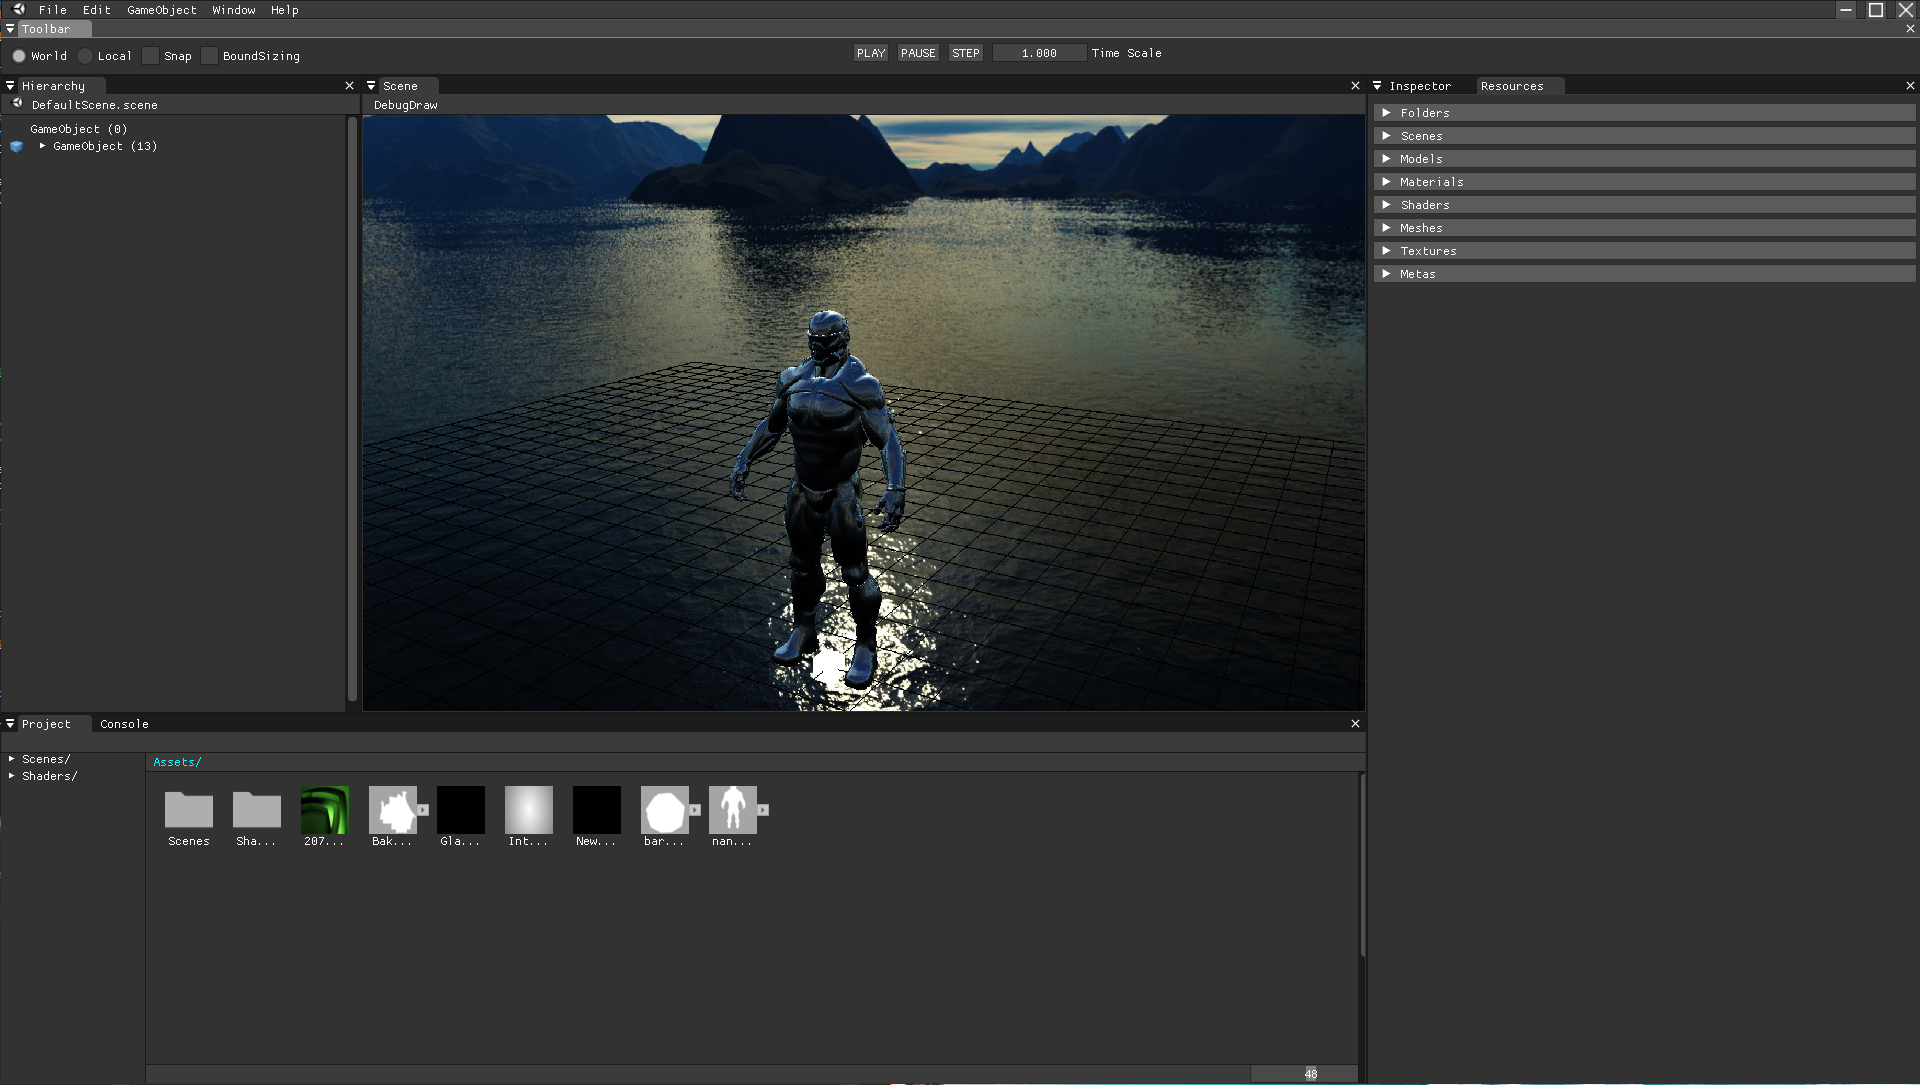
CENTRAL 3D
- Version 0.4.1
- Repository
- Latest Release
- Initial steps into 3D game engine development, this engine, up until v0.3 was built during Barcelona - UPC - CITM - Design and Development of Videogames - Game Engines subject (university).
Expanding CENTRAL 3D
- After 0.3, everything was done during my holidays, twofold purpose:
- Having fun, learning.
- Preparing stuff for Project 3 subject in CITM Barcelona (2020).
Overview
Latest version
End of subject
By AitorSimona

SPECIAL THANKS / REFERENCES
EduGameEngine by Ric (Teacher)
ThorEngine by Marc (Teacher)
NekoEngine by Sandra & Guillem (Students 4rth - Terrassa)
And all the 3rd party libraries too! Check them below!
Core subsystems
The engine’s pillars…
Game Objects (ECS)
Based on an Entity-component system, each game object is a unique entity, and has a number of components attached to it. The available component as of 0.3 are: Transform(fixed), Material, Renderer, Mesh, Camera. All inherit from Component base class.
Every game object has a parent, and a number n of childs. This turns into a tree structure (Unity).
Resource Manager
In charge of the resources, which are: Material, texture, shader, mesh, scene, prefab and folder.
Handles reference counting, every resource is only in memory once and can be used by any number of game object components.
Resource management flow:
- A resource is dropped on the engine, or put in the assets folder
- Engine automatically imports it, generates meta files and own file format files, the latters stored in the library.
- When importing again, engine will detect a meta and load the resource from the library, in own file format, which is way faster.
The user does not have to handle any library file, everything is done by the engine. For a user all there is are the files he/she dropped in assets, in the original format provided.
Resource Hot-Reloading
All except model are reloaded if a change is detected in the original file, no need to reopen the engine! This is done through a Windows file system watch, that notifies the engine when a change is detected in the Assets folder. The engine then scans all folders inside assets and checks for new resources, overwrites, deletes. It eliminates any orphan metas automatically.
Gui
Courtesy of Dear Imgui, the gui has been worked on to be as modular and scalable as possible. All panels inherit from a base panel class and are handled by the GUI module. Adding/modifying panels is very straightforward.
Shader Subsystem
For the third assignment, the original OpenGL rendering pipeline was replaced by the shader pipeline. Also introducing the scene in a framebuffer meant that a lot of systems had to be adjusted. All rendering had to use shaders.
There is a Shader class, which is a resource and works the same way as other resources.
Shader management
-
Create a shader in the panel project (Right Click - Create - Shader)
-
Double click its icon (it will open the file with the default program assigned)
You have just created your own shader!
I recommend setting Visual Studio as default program, and downloading a glsl extension that provides syntax highlighting, autocompletion…
Uniform editing
You can edit all int, float, and vec up to vec4 uniforms through the inspector! Head to the material node, select a shader and edit the uniforms there. Changes are applied automatically. Note that these uniforms are held by the material, so all objects with the same material will share the uniforms.
Binary program
The engine will save the program in binary format. Once booting the engine again it will try to load the binary, if unsuccessful it will recompile the shaders.
Other Features
Time Management Octree and Frustum Culling Scene Serialization and de-Serialization Importers (Scene, Mesh, Texture(module), Material and Shader) Mouse Picking, Guizmo Scene is rendered to a framebuffer and displayed as texture in panelScene FileSystem through PhysFS (also using stl’s fstream)
How to use
There is no formal installation process, just look around and play with it
- Navigation:
Mouse and Keyboard controls are enabled both on UI and Scene, working on focused window only.
- Mouse picking
Self-explainable, click on an object to select it, notice how inspector info changes, but if the object is hidden in the hierarchy you won’t notice it there, open parent to see how it is selected.
-
Scene Camera:
- Right Mouse button enables Look Around
- Alt + Left Mouse button enables Camera Orbit
- Mouse Wheel click enables camera Pan
- Right Mouse button + WASD enables free movement
- Mouse Wheel movement enables zoom
Editor camera only works when in AppState EDITOR mode.
-
Guizmo:
- Move: Q
- Rotate: E
- Scale: R
Innovation (during engine’s subject)
- Shader binary program loading
- Shader debug draw (normals, aabbs, octree, cameras)
- Z-buffer visualizer
- reversed-z technique
Tools used
- Microsoft Visual Studio 2019
- 3rd Party Libraries used:
- SDL 2.0.10
- Assimp 5.0.1
- Glew 2.1.0
- ImGui 1.76 WIP docking branch commit 6531
- ImGuizmo
- MathGeoLib 1.5 (commit 1994)
- OpenGL 4.6
- mmgr
- par_shapes at commit 281
- DevIL 1.8.0
- JSON for Modern C++
- PhysFS
- Optick 1.3.0